If I could only read one blog, hers would be it. It's got everything, culinary-speaking as well. Not only does she have heaps of great recipes, a lot of them come with step-by-step pictorials--a gem for noobs like me. One of these pictorials--yummy Cinnamon Rolls--helped me to impress my fam and the boy yesterday. My dad suggested I open up a little cafe/bakery, and V told me to bring a few batches to his store and make some money.
To be honest, I kind of impressed myself a bit too. I've never worked with yeast before, yet my dough came out perfect. Props to PW, of course, for her detailed instructions. I did mess up a little on the frosting. It came out too thin. But it worked out in the end because the gooey stuff seeped through the cracks onto the bottom on the pan, where the rolls soaked it up. Yum! I'm never eating store-bought cinnamon rolls ever again.

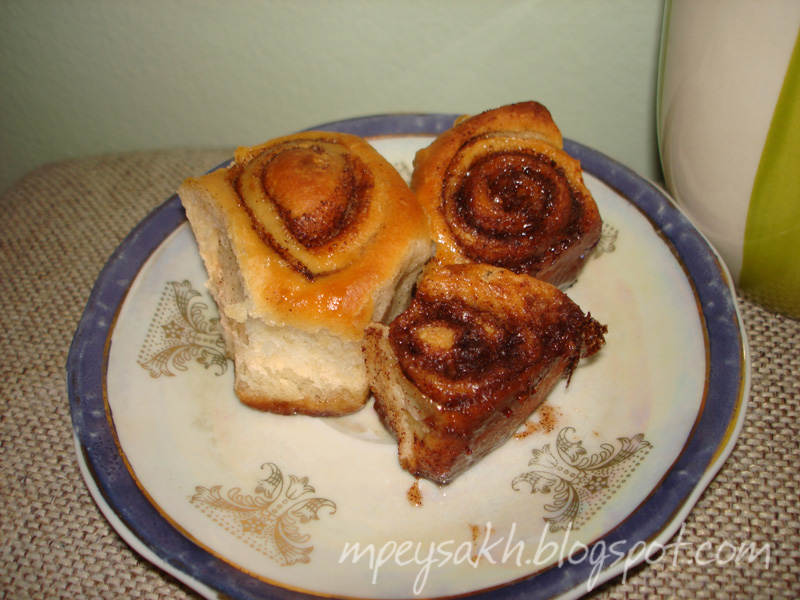
I can't replicate the pictorial, but I will post my progression pictures. I'm not going to post the frosting because it didn't turn out right but do check PW's original post (link above) for step-by-step instructions.
1. The first step was to scald 1 quart (that's 4 cups) of milk, 1 cup of vegetable oil and 1 cup of sugar. Next time I make this I will probably skip this step to see if there is any difference in the outcome.

2. The above mixture needs to cool down. Once it's cool, drop in 2 packets of instant yeast. Let it sit for about a minute.

3. In goes the flour--8 cups of it. This is all-purpose-flour, by the way.

4. Start stirring. It might take a while to fully incorporate the flour, without leaving any air pockets with more dry stuff.And since there's going to be some resistance, it might get a bit hard to stir. I almost had to ask my brother to do it because I felt that my hand was about to fall off.

5. You now have the dough. Cover it and let it rise for at least 1 hour. You might want to move it to a bigger vessel that can hold it when it rises to avoid a spill-over. You then can refrigerate it or use it right away.


No comments:
Post a Comment